
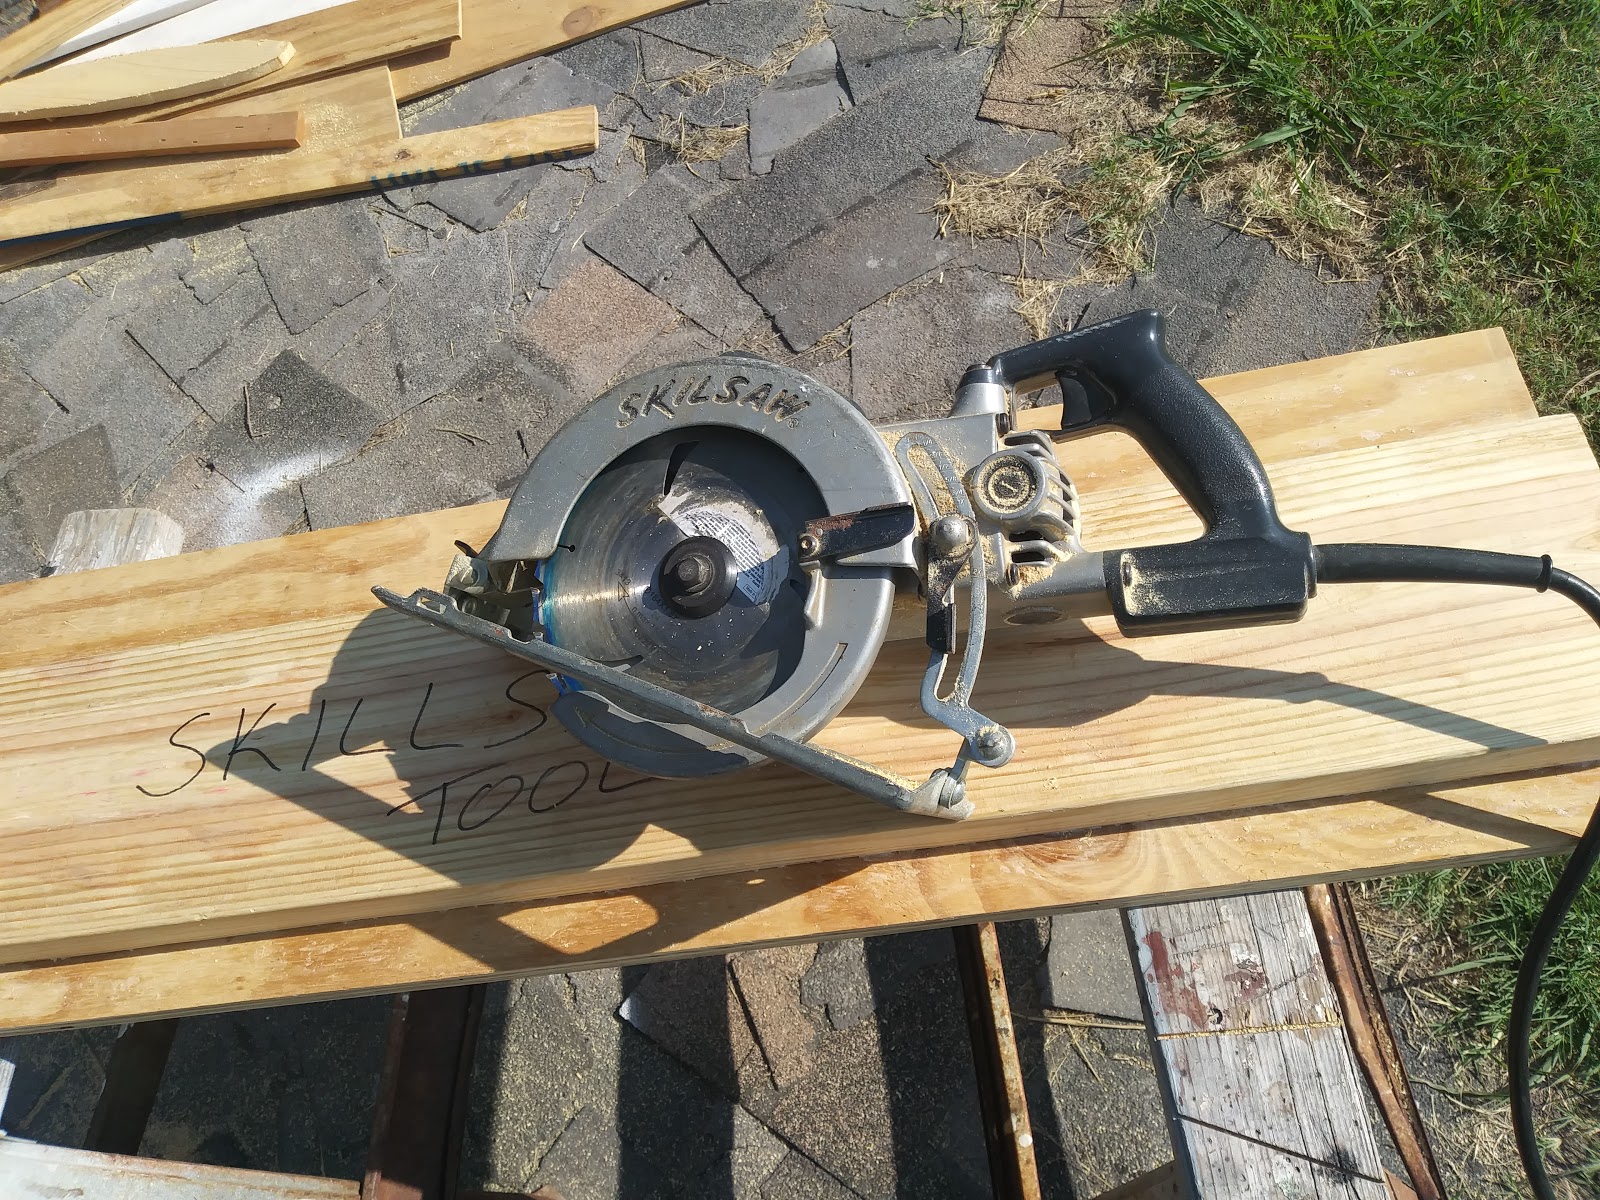
This jig will help cut a straight line using a Skillsaw.
 The extra strength of a 2X6 vrs a 2X4 will probably be better support for the weight.


 If you already cut a piece to the right size and want to use it as a template. If you line it up to the edge draw a line, or butt the jig up to the template, you will still be short the thickness of the saw blade.
It is simple to make, just some plywood and a 2X4. I didn't have a 2X4 so I used a 2X6.
Using a 2X6 made the jig heavier. My Skillsaw is industrial. This Skillsaw is a lot heavier than a regular Skillsaws. It really can be a pain at times, but it cuts good.
 The extra strength of a 2X6 vrs a 2X4 will probably be better support for the weight.
I wanted the jig to be 4 foot long, so that I could easily cut the width of a standard sheet of plywood.
Again, I could have used 1/2 plywood and a 2X4. I did not have 1/2 plywood and 2X4 on hand. but I did have 3/4 plywood and a 2X6. So that is what I used.
I may make a smaller lighter weight jig in the future for smaller jobs.
 |
| Do you think that candle is big enough? |
Glued and screwed a 4 foot 2X6 on a 4 foot length of plywood.
I used an old candle to wax the plywood so that that saw would glide easy.

Ran the saw on both sides so I would have a fence for both sides of the saw.
Easy, and it works great!
Tested
Cut a bunch of strips that I will be using for the Christmas Train track base that I need to finish.
What month is this? I need to get started on making Christmas Gifts.
I also cut out some plywood shelves for a project my Wife is going to be working on.
Im pretty happy at how the jig came out. Why didn't I make one of these sooner? Easy to make. Thinking of all the times I cut plywood following a line! They never came out exact.
Taking the time to set up the jig, it cuts a very straight line and easy to square a piece of wood.
Tips
One side of the line is the piece you measured out, that you are planing on using. The other side of the line is your waste.
Yeah Yeah, You will be using that piece as well, but we are talking about the measurement you took to draw that line.
If the piece you are keeping is larger than the waste, most likely the jig will be attached to it, and your cutting off the waste. You just put the jig right on the line and cut. Perfect size.
Here is the point of all this - If the piece you measured out is smaller than the waste piece, the jig most likely will be attached to the waste piece. If you line the jig right on the line you measured; your piece will be short by the thickness of the saw blade.
 If you already cut a piece to the right size and want to use it as a template. If you line it up to the edge draw a line, or butt the jig up to the template, you will still be short the thickness of the saw blade.
I have one of those Squares with the metal ruler. That metal ruler is just about the thickness of the blade.
In the picture you can see that I lined up the template piece of wood to the edge, stuck the ruler between the jig and the template. Lined it all up and clamped it down. You could also line the template up with the edge, add the ruler, and draw a line.
The cuts came out exactly what I wanted.
If you do not have a template, you will just need to add the thickness of the blade to your measurement, then draw the line. You could eye ball the distance from the line for the Jig, but your cuts may not be exact.
Hope you found this informative, and helpful.


