Thursday, June 21, 2018

How to Assemble - The Geekcreit® LCR-T4 Tester

I've been taking old stuff apart to learn more about electronics. Practice removing parts without breaking them and it's an easy way to get test components. I plan on playing around on a breadboard.
MAN! so many projects come to mind and the fun doing them. I can't wait!
Stick Around.

Anyway, I wanted an easy way to test these old components.

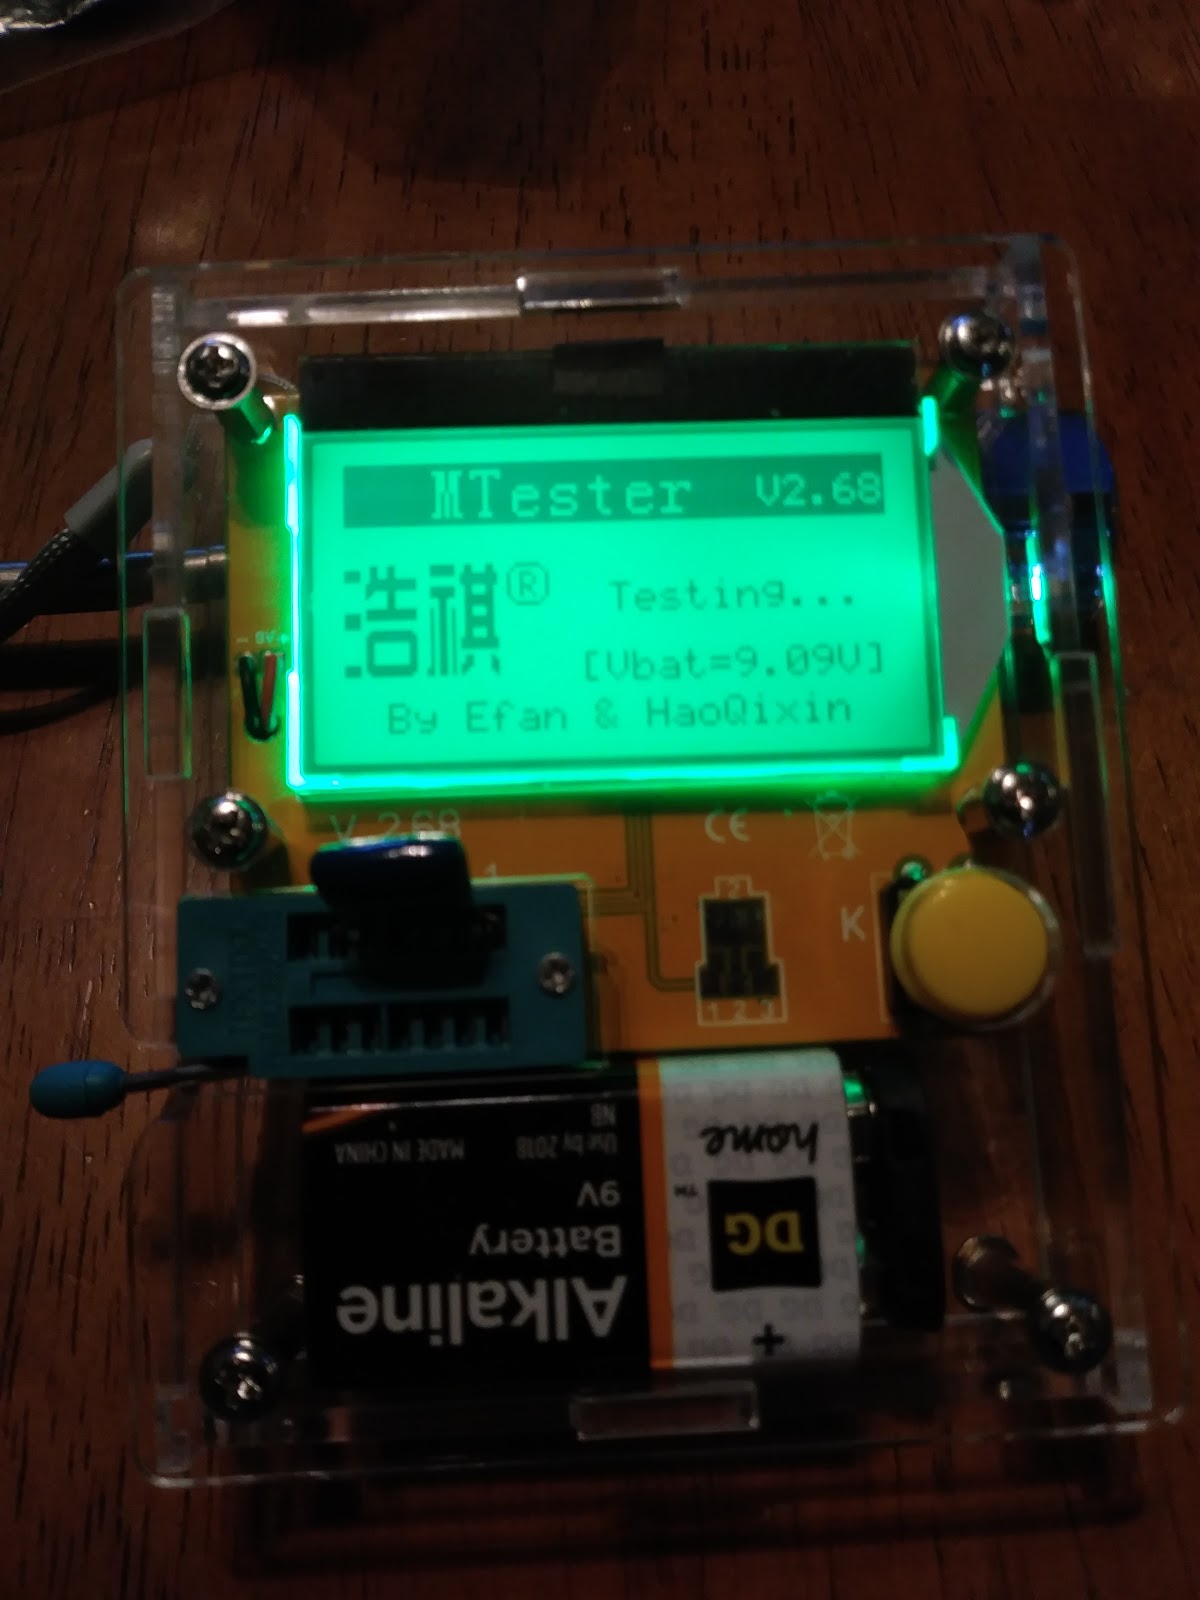
I found this tester under $11 on Banggood.com.

Geekcreit LCR-T4 Mega328 Transistor Tester Diode Triode Capacitance ESR Meter With Shell

This thing Rocks! I have a Digital Meter, but this is really easy to use.

Chances are if you bought one of these things you have been researching it already. Not sure what else I can tell you about it. Stick a part in and push the button.


Assembly - 

It came in a bunch of parts with no instructions. A quick search online - found some. The assembly videos I watch were not exactly for the same model.

The Plexiglass is a little different. The videos I saw showed building onto the back. But mine is made to build on from the front plexiglass. Not hard to figure out, you will understand what I mean.

The picture of the parts on the Banggood site are the ones they sent me, but the pictures of the assembly unit on Banggood site are not the same. Check out where the screws are on the front.

Anyway, I hope this helps someone.

Peel of the protective cover


Got all the parts laid out, and peeled the protective plastic off. I keep my nails short. I had to use a knife to get the plastic started.


The 4 studded spacers at the top


First stick the screws and spacer into the front plexiglass as shown. 


Insert the LCR-T4
attaching


Put the LCR-T4 face down onto the protruding screws. The top screws get another spacer, but the screws in the middle just get nuts.


Slot lined up
sides on

Put the sides one, making sure the slot on the side line up with the arm on the component holder.


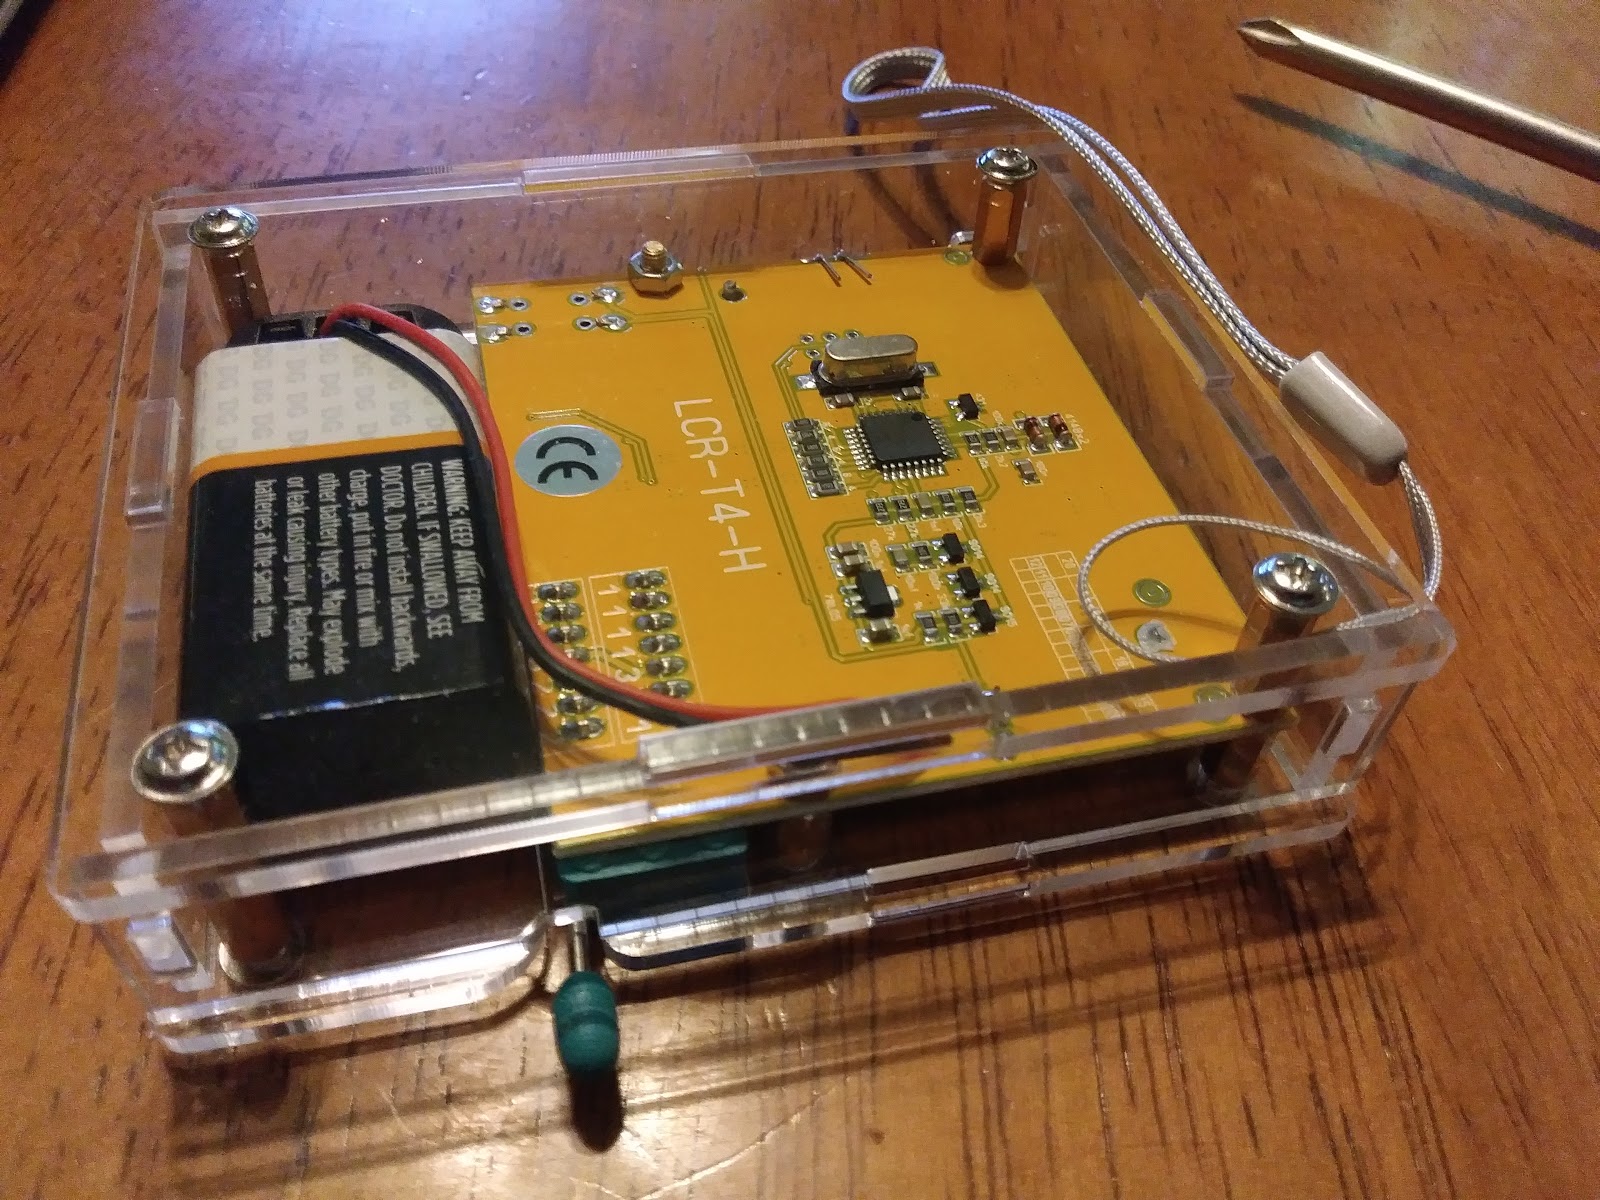
battery in, and back cover on.

Stick a 9V battery in it, and put the back on.


I didn't plan on putting the lanyard on, but incase I want to hang it somewhere it might be easier. I made sure the string would not hang on anything. I thought if I put it in the front, there might be a chance of it hanging on the corner of LCD.

LCR-T4 Tester - Images

Just fooling around sticking components in it. Thought you might want to see it.


Sunday, June 10, 2018

Dim Bulb Tester


Some scrap parts

The DBT - Sounds like a pro-wrestling move, but its not. Well if it is I'm not aware of it.


The DBT (Dim-Bulb Tester) I'm referring to is a type of electrical short tester. If the electronic device you are plugging in has an internal short, the DBT light will be bright, and draw the power. It will help protect the device from further internal damage. 
If the light is dim or off that means the device you have plugged in does not have a direct short.

One of my projects is to repair a couple of old radios and record players. I know they need a lot of work and I want to be safe. As I work on them, I can test them to make sure I do not have a short somewhere. Also if I come across an old radio or amp I want, I can them using a DBT.


DBTs are cheap to make yourself, and very handy.

  1. Detects Shorts.
  2. Protects the device if it has a short.
  3. Could help prevent you from getting shocked.
The version I made requires;
  1. small electrical box
  2. outlet and cover
  3. old light fixture
  4. some wire
  5. some scrap wood
  6. few screw
  7. Light Bulbs - Must be incandescent light bulbs.
Low wattage bulbs (florescent, LED) defeats the purpose of the DBT. We did not have any incandescent bulbs in the house. You need a bulb that will draw the current.

I bought some 60W incandescent light bulbs. I got the Edison style. I thought it l would look cool.

I did some research and saw that some people also had a switch to switch off the bulb circuit. I was afraid I'd forget which way was on or off. So I made mine so that if you're using it, its on. I also wired the bulbs in series instead of parallel. Series will draw more current.


Electrical Schematic


I was thinking if I had a bad bulb, I would have to unscrew it and check it with an ohm meter or plug it into a lamp or something. So I made a shorting plug so I can test my DBT. With the shorting plug it simulates a short.
Added a shorting wire


Using a Variable Autotransformer would be also idea (Its on my list) to be able to slowly increase the voltage. Variac is often used to describe a Variable Autotransformer. Variac is a trademark name. You can use a variac to slowly turn up the voltage on new capacitors as well.

Sunday, June 3, 2018

Porch Swing - P8

GEEEZ only took me a little over a year.... So many projects and things going on.

Got her stained


A couple of weeks ago I bought some chain hung the bench.

I was thinking I would hang the bench to figure out where to drill the holes through the arms for the chain.
Came to find out that I measured the distance between the eye hooks right, but when making the swing I didn't take in account of the porch swing arms.


These arms are just too close to the house.


Pulled the arms off, hung the bench. I hung it real low, because I was not sure if the chain I bought was strong enough. bouncing on the bench found out it was not strong enough.

2 weeks later I finally made it back to Homedepot to pick up some thicker chain.

Got it hung and it is great to sit on. Its going to be nice to sit and read a book in it.

I still need to touch up the stain where I took the arms off, but Im calling it pretty much done at this point. Its on my "list" to build another one for the backyard. My Dad had an old swing-set frame he had a porch swing in at one point. that swing is log gone, so he let me have the frame.


You can see the start of some jasmine my wife planted on that old trellis. It smells so nice when it is blooming.

Featured Posts

PedalBoard

Started building myself a pedalboard. Thought about what I wanted in a pedalboard. Room to grow Velcro to attach pedals Place under b...