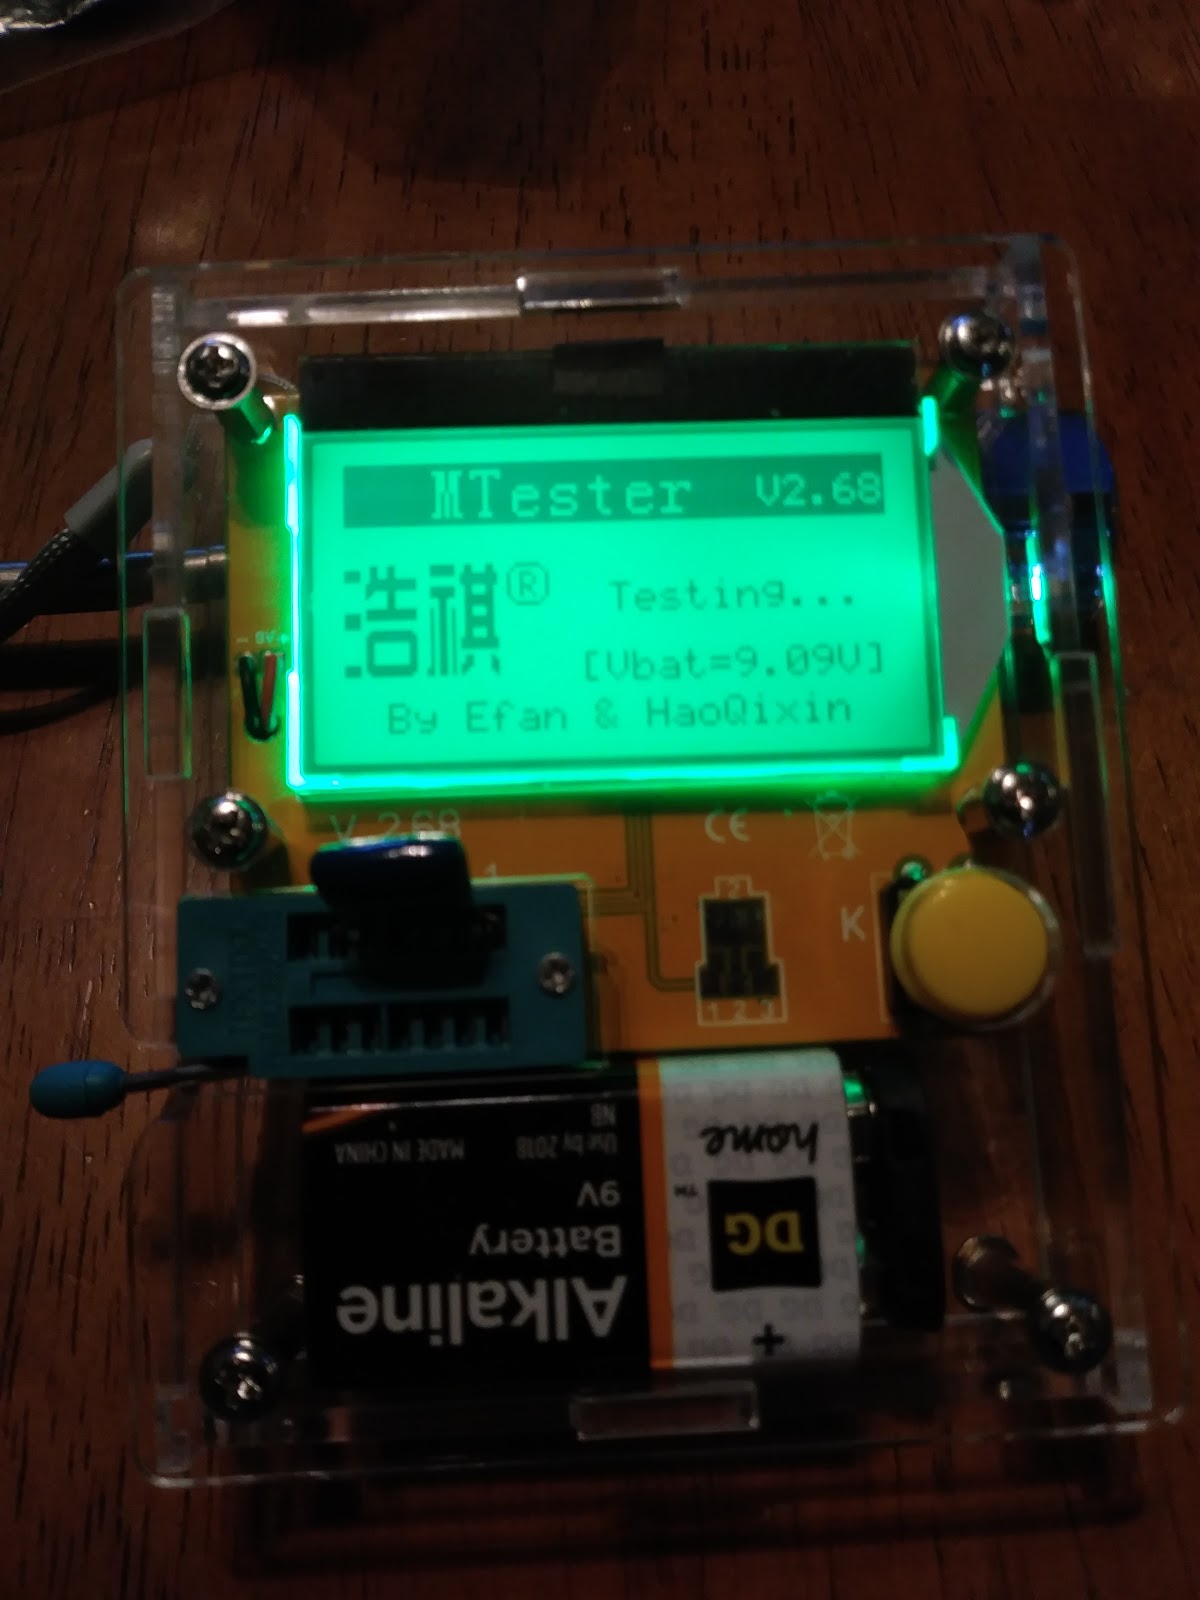
I've been taking old stuff apart to learn more about electronics. Practice removing parts without breaking them and it's an easy way to get test components. I plan on playing around on a breadboard.
MAN! so many projects come to mind and the fun doing them. I can't wait!
Stick Around.
Anyway, I wanted an easy way to test these old components.
I found this tester under $11 on Banggood.com.
Geekcreit LCR-T4 Mega328 Transistor Tester Diode Triode Capacitance ESR Meter With Shell
This thing Rocks! I have a Digital Meter, but this is really easy to use.
Chances are if you bought one of these things you have been researching it already. Not sure what else I can tell you about it. Stick a part in and push the button.

Assembly -
It came in a bunch of parts with no instructions. A quick search online - found some. The assembly videos I watch were not exactly for the same model.
The Plexiglass is a little different. The videos I saw showed building onto the back. But mine is made to build on from the front plexiglass. Not hard to figure out, you will understand what I mean.
The picture of the parts on the Banggood site are the ones they sent me, but the pictures of the assembly unit on Banggood site are not the same. Check out where the screws are on the front.
Anyway, I hope this helps someone.
 |
| Peel of the protective cover |
Got all the parts laid out, and peeled the protective plastic off. I keep my nails short. I had to use a knife to get the plastic started.
 |
| The 4 studded spacers at the top |
First stick the screws and spacer into the front plexiglass as shown.
 |
| Insert the LCR-T4 |
 |
| attaching |
Put the LCR-T4 face down onto the protruding screws. The top screws get another spacer, but the screws in the middle just get nuts.
 |
| Slot lined up |
 |
| sides on |
Put the sides one, making sure the slot on the side line up with the arm on the component holder.
 |
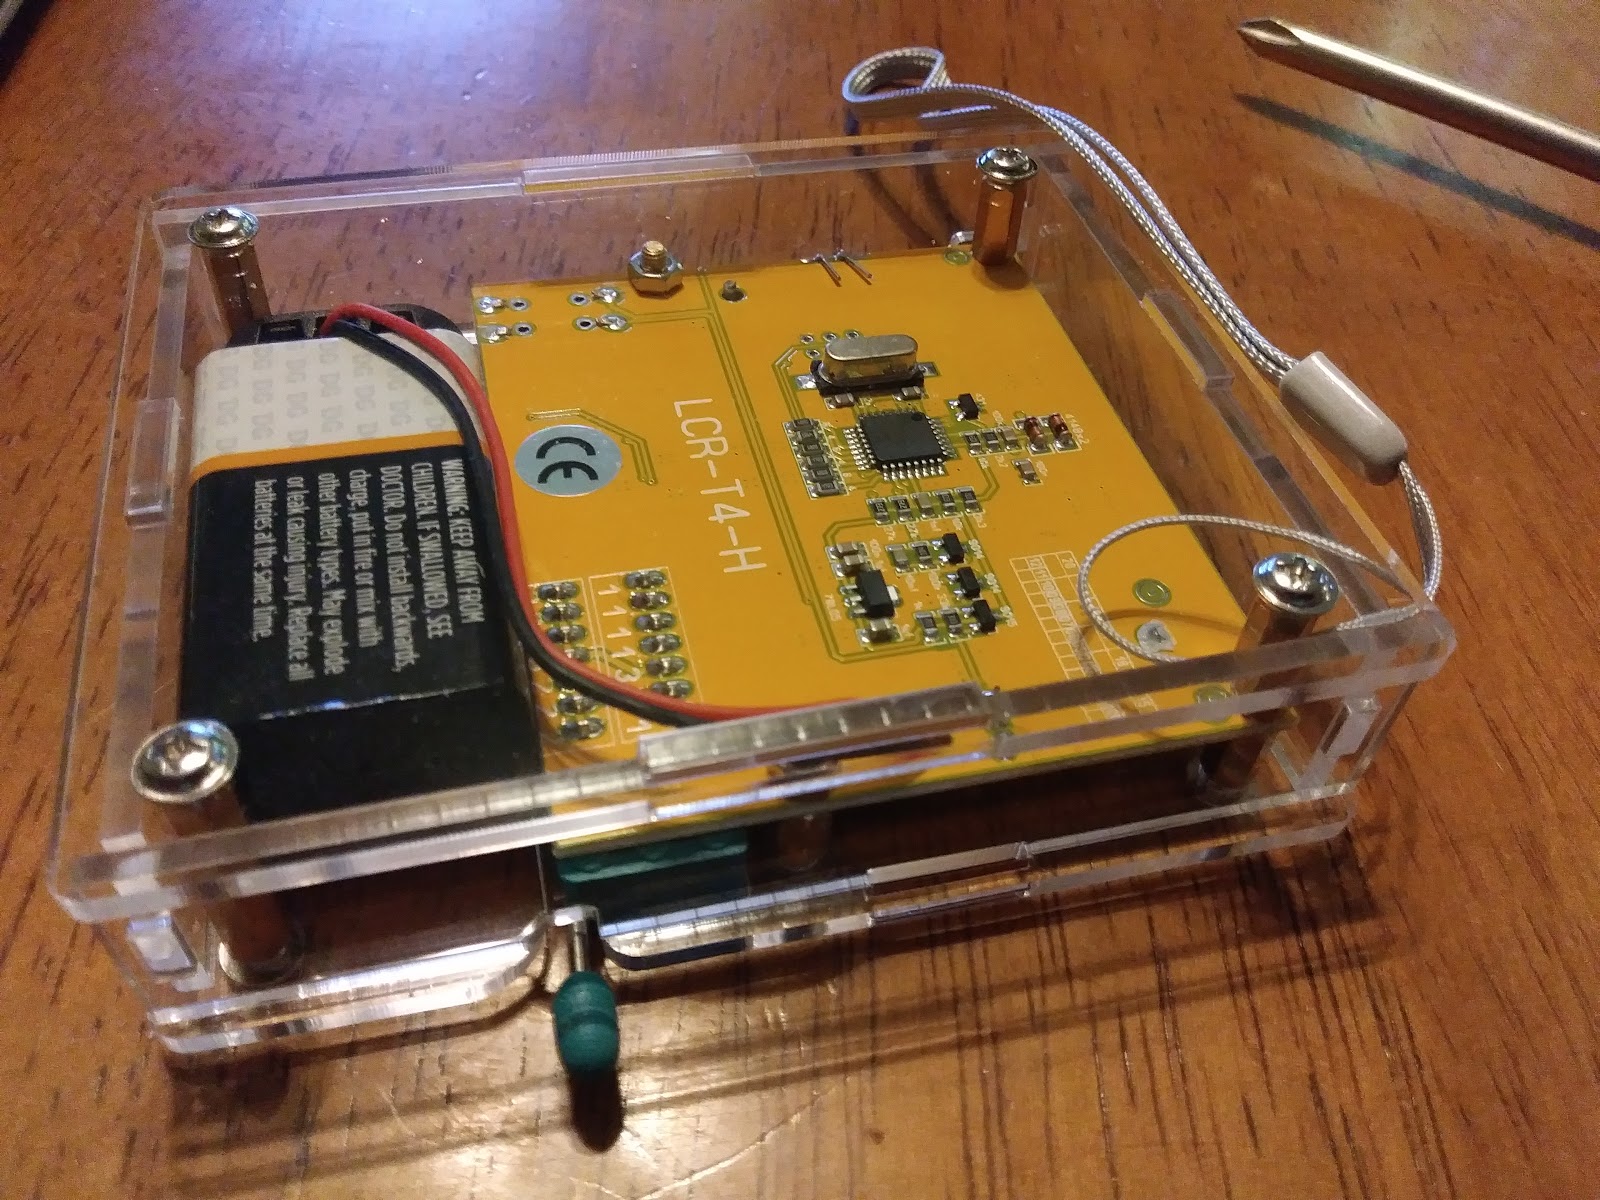
| battery in, and back cover on. |
Stick a 9V battery in it, and put the back on.
I didn't plan on putting the lanyard on, but incase I want to hang it somewhere it might be easier. I made sure the string would not hang on anything. I thought if I put it in the front, there might be a chance of it hanging on the corner of LCD.