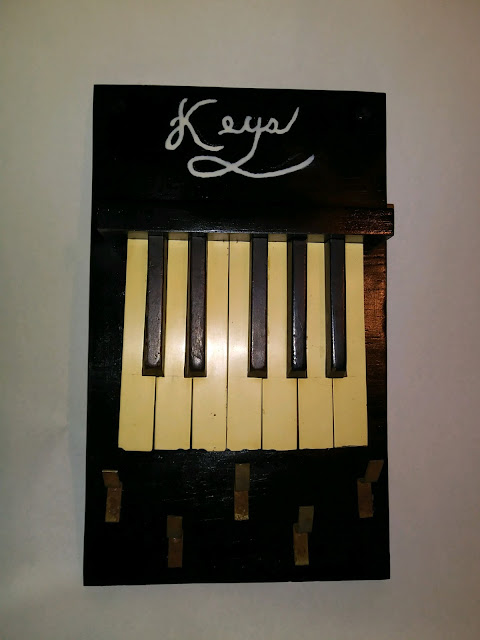
I had a bunch of pictures of the build, but lost them. Evidentially if you do not have the data save on, it deletes the photos out of google photo if you delete them on the phone. Now I know...
Cut out the plywood and little shelf. sanded, and glued the shelf to the backing plywood.
Sanded again and painted.
I went through the piano keys I had and selected a set. Cut off the ends that go into the piano, and left the keys in a usable length.


I found some pieces off of the old piano parts that would work well for the hooks with original screws.
Glued and nailed the keys onto the backing board.

 Used a Square to line up the hooks. predrilled and screwed them on. I also measure out some mounting screw holes. Made sure they were 16" apart. standard stud distance.
Getting ready to write "Keys" on the top.
Practiced my cursive "Keys" a few times on some paper. Still getting used to writing with a paint brush.
Finished project - I think it came out good.
I had a lot of fun working on it.


No comments:
Post a Comment